Service
Epoxy Floor Prep in Los Angeles.
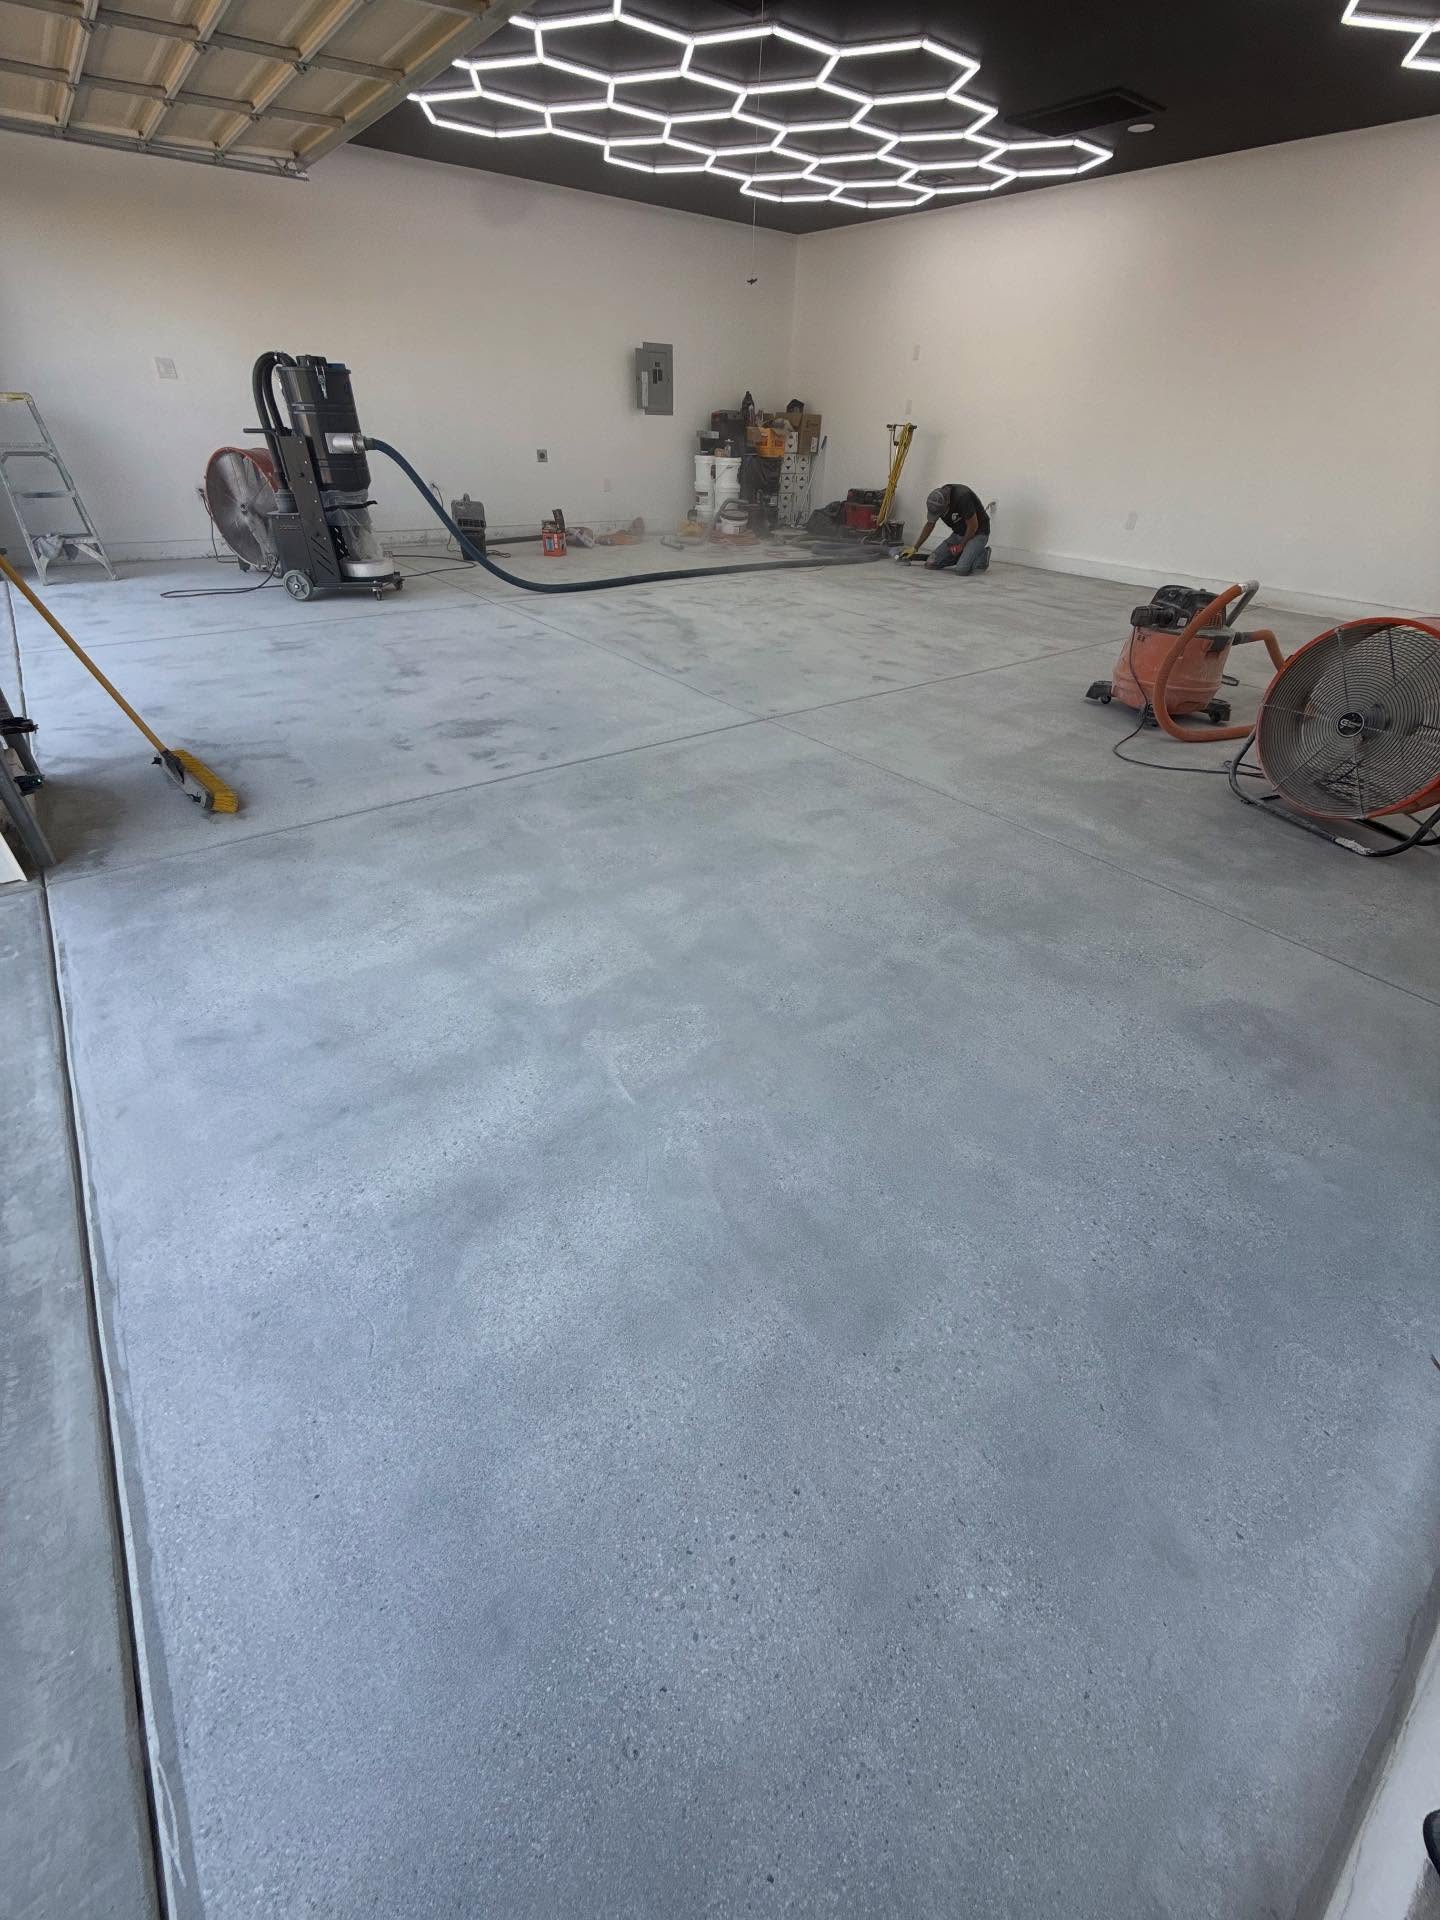
Standalone substrate prep service. Diamond grinding, HEPA vacuum, crack repair, joint detailing, moisture testing, and substrate profiling for clients who plan to install their own coatings or who have a manufacturer or contractor who only handles the topcoat.
What epoxy floor prep actually is.
Standalone substrate prep service. Diamond grinding, HEPA vacuum, crack repair, joint detailing, moisture testing, and substrate profiling for clients who plan to install their own coatings or who have a manufacturer or contractor who only handles the topcoat.
The system
- Diamond grind to CSP-3 or CSP-4 profile per manufacturer spec
- HEPA-rated vacuum during grinding (no airborne silica)
- Rapid-set polyurea crack repair
- Calcium chloride moisture testing prior to coating
What it costs
Substrate condition drives it. A sound slab needs one grind pass, a slab with old coating, mastic, or wide crack lines needs several plus polyurea fill. Square footage does the rest. We quote it after the walkthrough.
How long it takes
One to three working days depending on square footage and crack repair scope.
How long it lasts
The prep itself is permanent; adhesion of any subsequent coating depends entirely on this step.
Where this fits
DIY epoxy installs where the homeowner needs proper prep done first. Commercial clients with manufacturer-spec coating systems. Re-prep on failed previous coatings.
How a epoxy floor prep floor actually gets poured.
01 Walkthrough
Owner on site. Moisture test of the slab. Photos of existing cracks. Palette options walked in person. Proposal in your inbox next morning.

02 Diamond grind
Surface prep to CSP-3 profile, HEPA vacuum, rapid-set polyurea on crack lines, re-grind. Where every floor lives or dies.
03 Pour
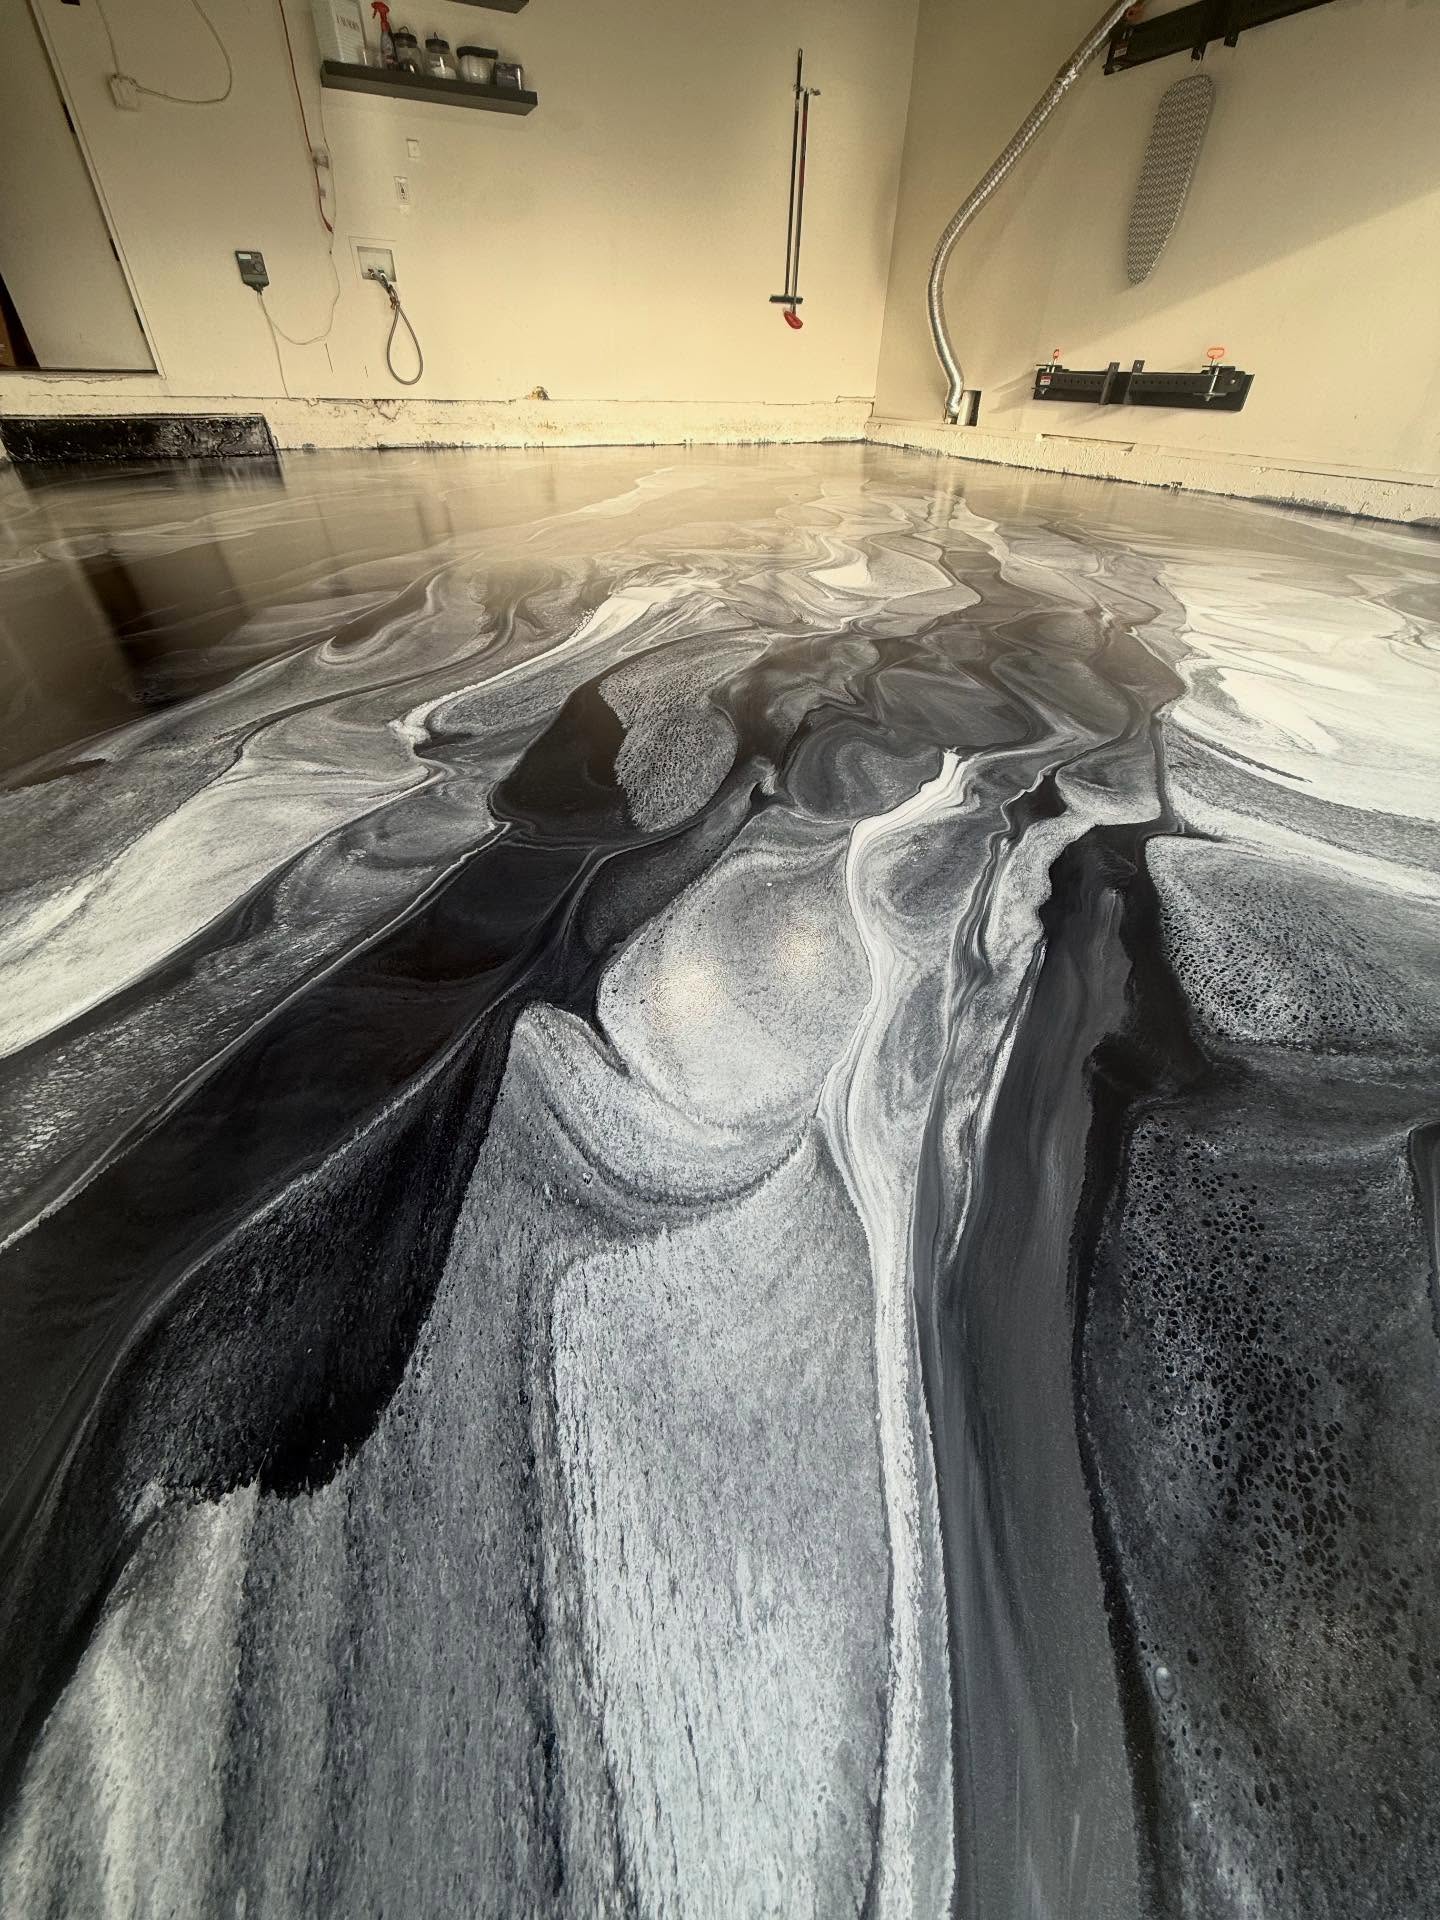
Resin mixed on site, broadcast or swirled to match the system. Signature work happens here. Notched-trowel finish before the working window closes.
04 Topcoat
Polyaspartic or polyurethane within the resin chemical window. Walkable 24 hours, full traffic 72 hours. Written job spec before we leave.
Where we install epoxy floor prep.
We pour epoxy floor prep across all of our service areas: Los Angeles County, Orange County, the Inland Empire, San Diego County, Ventura County, Kern County, and Santa Barbara County. The system itself is the same across cities. Substrate prep adjusts to local concrete age and moisture conditions.
Orange County
Inland Empire & beyond
Three rules we do not break on a epoxy floor prep install.
Grinding, vacuuming and crack repair take up the day before the pour, and they decide more about how long the coating lasts than anything that comes after. Here is the prep we keep in every proposal, at any budget.
01. Calibrated moisture testing
Calcium chloride or relative-humidity sleeve test on every epoxy floor prep substrate before we order resin. If the vapor emission rate is above manufacturer spec, we apply a moisture-mitigation primer at our cost rather than gamble on the topcoat bond. Skipping this is the most common cause of the failed coatings we get called in to re-prep.
02. Diamond grind to spec
CSP-3 minimum for residential epoxy floor prep, CSP-4 for high-build commercial. Shot blasting and acid etching are cheaper shortcuts that fail the resin manufacturer’s adhesion spec. We grind, HEPA-vacuum, polyurea-fill every visible crack, and re-grind. The prep day is the day the floor lives or fails.
03. Spec sheet with the resin maker named
Every epoxy floor prep proposal we write names the resin manufacturer, the topcoat product, the substrate prep depth, the cure window, and the maintenance schedule. If a competitor’s proposal does not name these, you are buying on faith, not specs. Full liability and workers’ comp on every job.
Questions before the call.
What does epoxy floor prep cost in Los Angeles?
Residential pricing for epoxy floor prep in the Los Angeles market typically runs between the ranges quoted on our service pages, with the exact number determined by substrate condition, finish system, and square footage. Commercial pricing is always project-specific.
We write fixed-price proposals after the on-site walkthrough so there are no change orders mid-pour. Walkthrough is free, takes about 30 minutes, and you have the proposal in your inbox the next morning.
How long does epoxy floor prep take to install?
A residential pour usually has us on site for two to three working days. The walkthrough tells us where your floor falls, since a larger home or a commercial space can stretch the job to anywhere from four to fifteen days depending on spec, substrate and footage.
The cure is quick. Foot traffic is fine a day after the topcoat, and vehicles can come back in after three days.
How long will my epoxy floor prep last?
Installed right, the resin locks to the slab through a chemical bond. Residential systems are designed for that bond to hold for the life of the floor.
On a commercial floor, the spec is set by the traffic and the chemicals the floor will see, and the resin layer typically lasts 10 to 25 years. At home, a heavy-use floor may want a fresh polyaspartic topcoat somewhere between years 8 and 12, with the base staying bonded underneath.
Can you match a specific color?
Metallic pigment can be mixed to any color you bring us. A few we have poured: deep teal, matte slate and mother-of-pearl.
Flake systems come in pre-blended color packs and unlimited custom blends. Quartz comes in 14 standard colors plus custom mixes. Decorative concrete colors are added integrally during the pour or applied as a topical stain post-cure.
How does the install process actually work?
We start by testing the slab for moisture during the walkthrough, so we know what is coming up through the concrete before we coat it. The second stage is grinding to a CSP-3 profile and fixing cracks. Third is the pour, where the broadcast and any signature work happen. Fourth is the polyaspartic topcoat, followed by an inspection with you and a written spec of what we installed.
What happens after the floor is poured?
You deal with the same people after the pour that you dealt with before it. The owner walks every job, so if something about the finish looks off to you, that is who you talk to. The resin bonded to your slab stays where it is; the topcoat is the only layer that ever needs attention.
There is no maintenance plan to sign up for. We built the system so it does not need one: mop it damp when it gets dirty and leave it be the rest of the time.
What makes Concrete 2 Coatings different from other contractors?
Prep. When a coating peels or looks wrong, the cause is usually a step somebody skipped before the resin went down. We diamond-grind every slab to CSP-3, HEPA-vacuum it and grind it again, and the owner is there for that work on every job. We are a local outfit, no franchise, licensed across coatings, decorative concrete and structural slabs.
Pour epoxy floor prep at your place.
Free walkthrough in 30 minutes. Fixed-price proposal in your inbox the next morning. (714) 702-2567 or the form below.